This post is all about those brush embroidery sugar technique sugar cookies from the Secret Garden shower.
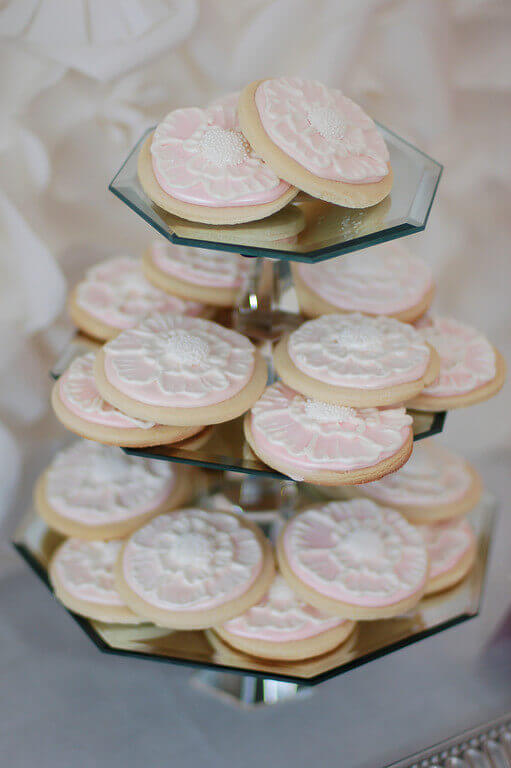
I'd been intrigued, but intimidated by, brush embroidery technique for some time. WOW, am I glad I decided to give it a try, because it's insanely easy, and the effect is absolutely stunning and elegant. If I were getting married again, I'd definitely make these for my favors.
How to Make Brush Embroidery Sugar Cookies
You'll need:
- sugar cookies (I like this recipe best) in basic shapes, like circles or squares
- Royal Icing
- a clean, small, food-safe paint brush
- clean, damp washcloth
- disposable icing bags
- waxed paper
- white nonpareil sprinkles
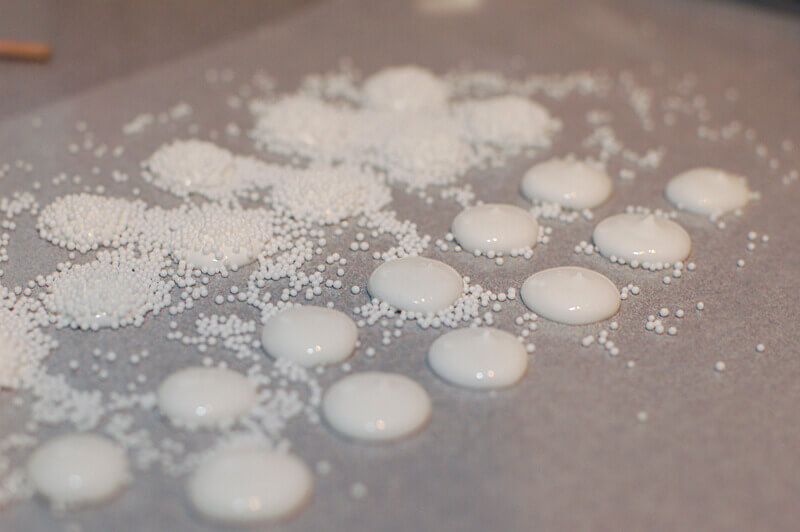
4) In the meantime, tint some of that nice and runny flooding icing pink and flood the cookies with a base coat of icing. Let that dry overnight, too. Put any leftover icing in aTupperwarecontainer in the fridge.
Day Two:
Pull your extra icing out of the fridge and let it come to room temperature. It will haveseparatedslightly, but you can whip it back into shape, either with a quick turn in your mixer, or even just by mixing vigorously with a spoon. Today you'll want the icing to be pretty stiff, so you won't want to thin out the icing.
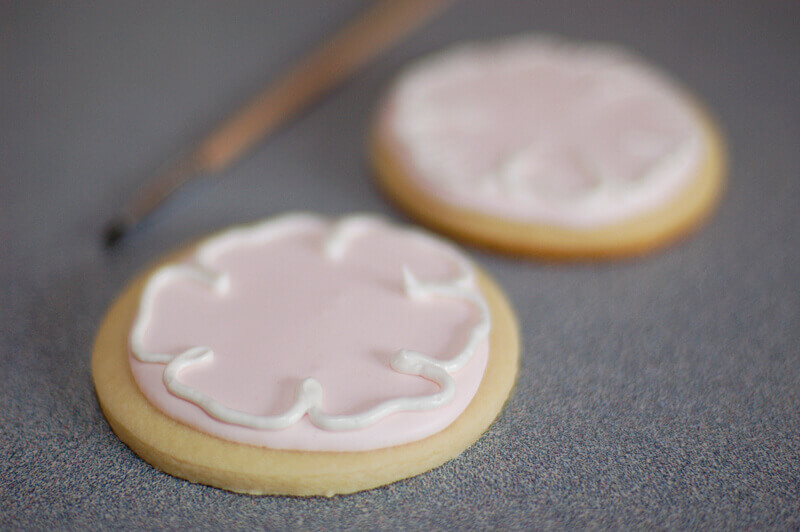
1) Pipe an outline of the petal shape on the base-coated cookies. Start at the outside and work your way in. Just do the exterior ring of petals first.
2) Use a damp, clean paintbrush and simply drag some of the icing toward the center.
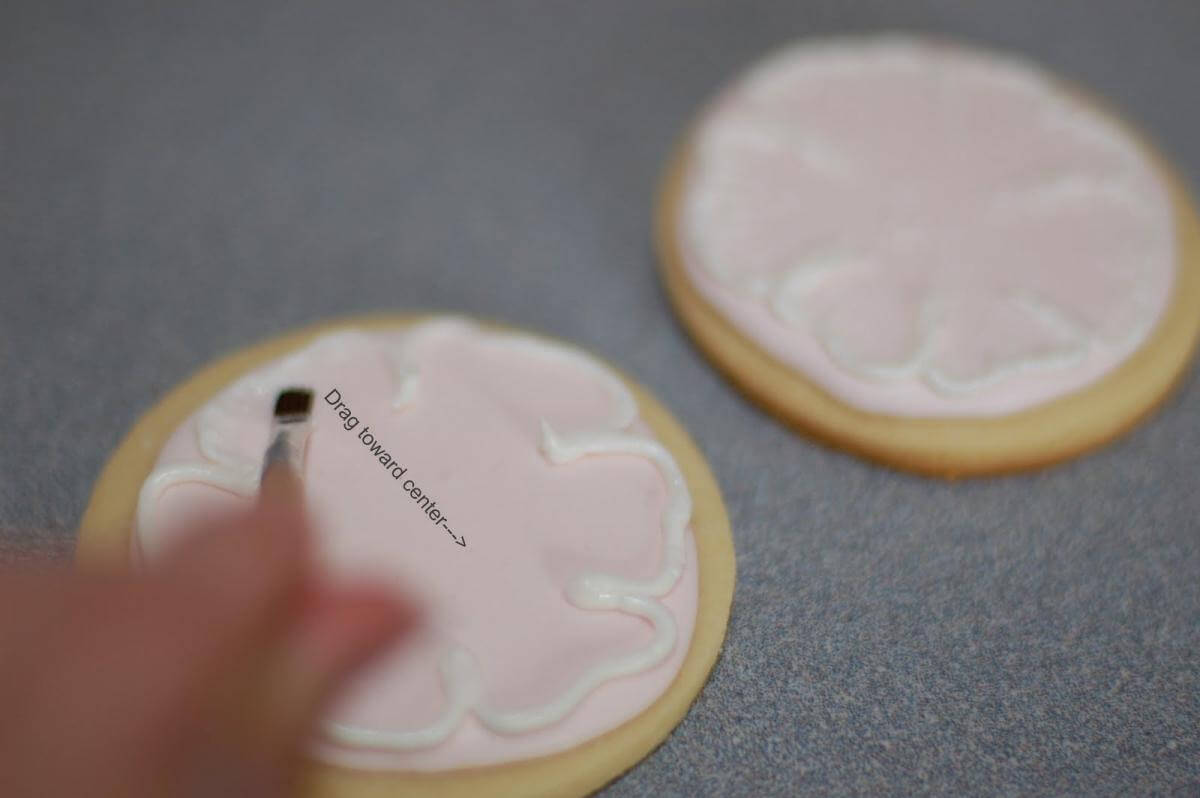
Once you've done the exterior ring. pipe a second, interior ring of petals, and repeat the dragging process. If your brush gets dry, or a little too messy, just wipe it off on a clean, damp cloth.
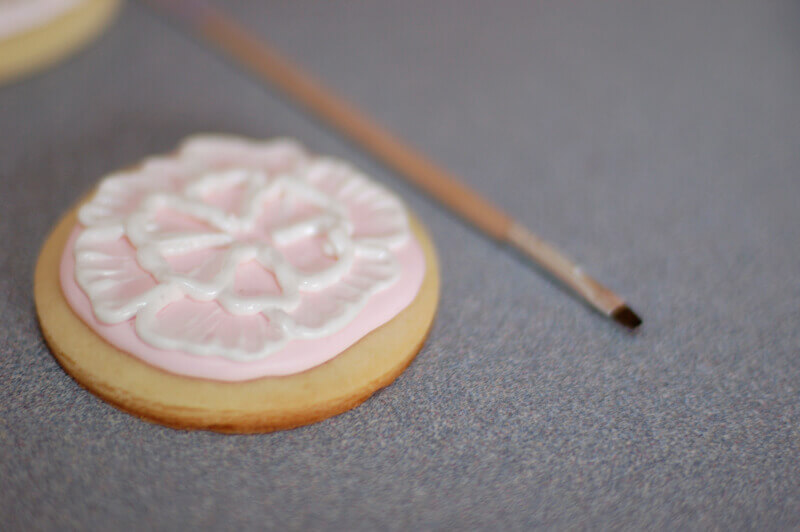
3) Once all the petals have been piped and brushed, simply plop down one of your pretty, dried, sprinkle-covered flower centers.
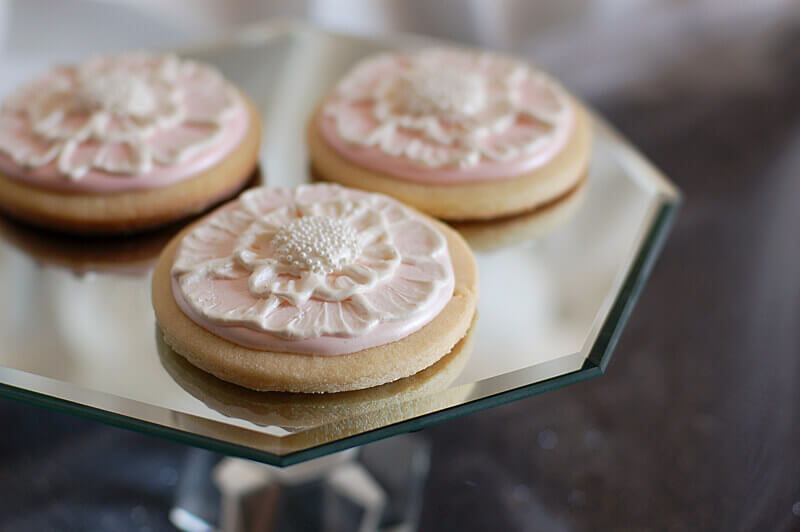
Let dry completely before packaging or storing the cookies.
The technique is so simple, but makes cookies that look so incredibly intricate. If you're so inclined, give the cookies a spray of super pearl aerosol luster dust to make it look extra special. I can't wait to try this on a cake!



.png)
Comments
So very beautiful! And I bet they taste as delicio...
I've never seen this before. So Stunning!
Thank you so much for sharing this technique!! Yo...
these are amazing! :) thanks for sharing
Does this cookie remain crispy ? I baked sugar coo...
Yes, it's a nice, firm cookie for decorating, ...
Gorgeous tutorial! Thanks for sharing with us =)....