I love paper. Beautiful patterend papers, paper sculpture, paper art, paper paper paper. Have since I was a teeny tiny thing. When I was 3 or 4, I remember making a 3D sculpture of a polaroid camera out of printer paper, complete with pictures I'd drawn and could pull out of a slot in the pretend camera. I used to make dresses out of leftover wrapping paper. I LOVE PAPER.
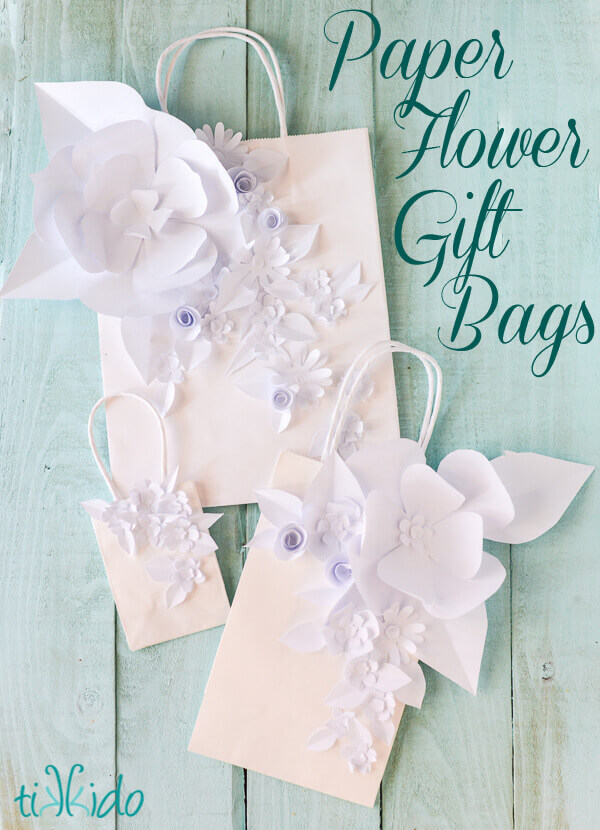
I'm also a sucker for monochromatic, textured designs. So it's no wonder I combined those two affections to create these elegant floral gift bags.
(1).JPG)
I keep these plain white gift bags in stock with our wrapping supplies. The girls love to draw and paint on them for their friends' birthdays. But sometimes you want something a little more elegant.
.JPG)
At first I turned to my collection of flower punches. And you could totally get away with just using those. Or you could go to your local scrapbook store, and use their fabulous die-cut machines and selection of dies. But I decided I wanted some larger flowers, too, and wanted to improvise.
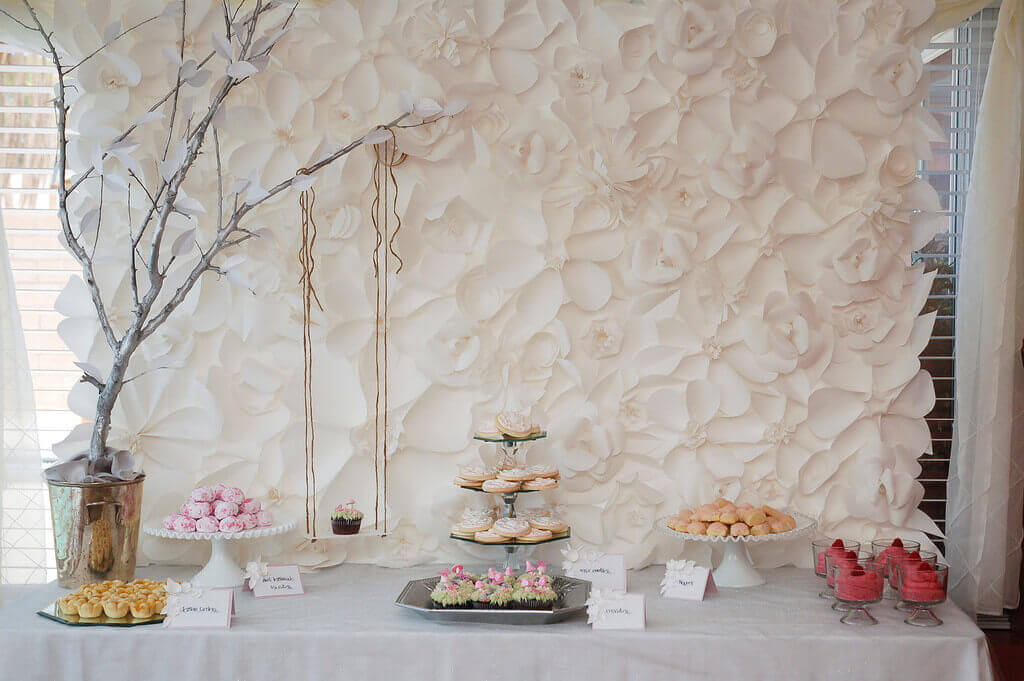
I remembered the paper flower backdrop I made for the Secret Garden Baby Shower, and decided to use those same techniques. The tutorial for making this backdrop is broken down into 3 different parts. Don't be intimidated, though. It's not hard, I just made quite a few different styles of paper flowers.
Just choose one, or maybe two of the styles of flowers in the tutorials and made some larger, some smaller. Or just use the punches, really. Cut bunches of leaves, though, because those are incredibly easy to make, and really add to the overall look.
Whether you're using punches or hand-cut flowers, there are two things to rememeber to make them look awesome: curl and layer.
.JPG)
Sure, curling the petals up slightly takes a little extra time, but wow, does it make a big visual difference. Just use your fingers to bend the petals slightly toward the middle of the flower and you'll add fast and easy perfect dimension to your paper flower, truly turning it into a paper sculpture.
.JPG)
Stacking is also an insanely easy way to make the flowers look a million times better. After the petals are curled, glue several layers of petals together. The flowers are cute in just a single layer, but spectacular with several layers stacked.
(1).JPG)
To assemble, just use the hot glue gun to attach your flowers in a cascade on the bag.
.JPG)
Tie on a little leaf tag, if you'd like. The perfect finishing touch!
I'm making one of these to wrap a graduation present for our next door neighbor's high school graduation party tonight. It's hard to believe the little girl who lived next door when we moved in seven years ago is heading off to college!


.png)