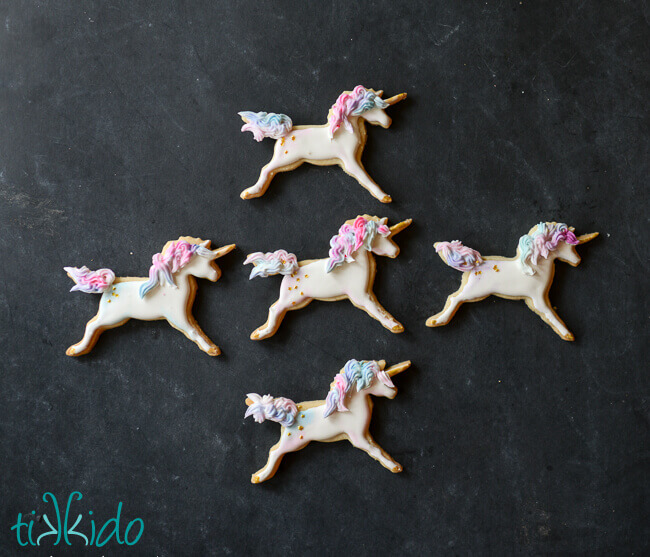
Welcome to day two of Unicorn Week! Today it's all about another sweet treat: unicorn sugar cookies.
So when my daughter's friend asked for a unicorn themed birthday party, I was there for her. Unicorn cupcakes, unicorn cookies, unicorn poop candy buttons... I went full-on-magical-unsolocited-party-gal on them.
I used my favorite sugar cookie recipe to bake the cookie shapes. This is the first time I've used this particular unicorn shaped cookie cutter, and though I loved the results, I have to say that using the cutter was kind of a pain in the ass. My grandmother, a professional cake decorator and cookie-baker-extraoridinaire, hated cookie cutters like these with fragile, long, skinny parts. Too much opportunity for breakage. The legs, the horn, the tail--so fragile! I didn't have much trouble once they were baked, but the horn and hooves really wanted to get stuck in the cutter and break off while I was cutting out the dough. Dip the cutter in flour before every cut to help head off these difficulties. And use the rolling-out technique I show here, too.
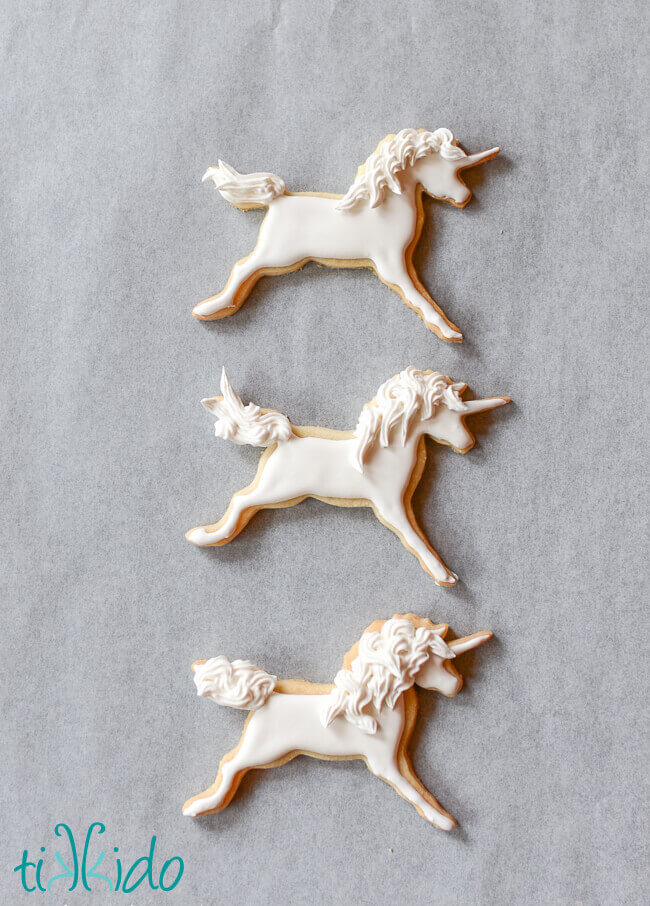
Once the cookies were baked and cooled, I covered them in a base coat of flooded royal icing. I let the icing dry for about an hour, and then added the piped-on mane and tail with a small star icing tip and some stiff, piping-consistency icing. I let the cookies dry overnight before adding painted embellishments.
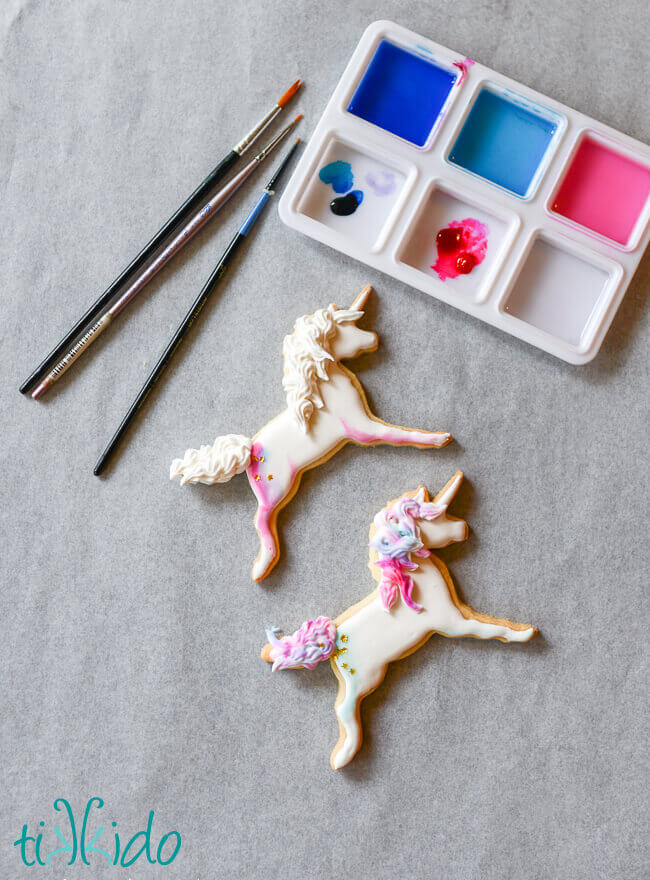
The next day, after the royal icing was completely dry, I painted the color shading on to the body, mane, and tail of the unicorn cookies. I made something of a watercolor paint using gel food coloring and Everclear alcohol (it evaporates so quickly because of the high alcohol content, so it's ideal for this purpose). Using my edible watercolor paints, I added shading to the unicorn body, used the moist icing to adhere star sprinkles to the unicorn's haunches, and added color the the mane and tail.
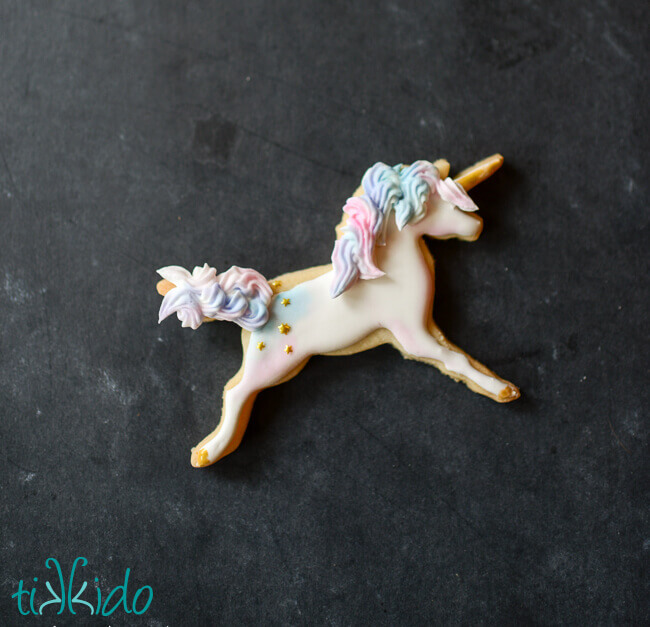
The hooves and horn were painted on with gold airbrush color. I love painting with colors designed for airbrushing; they're already perfectly thinned and ready for painting.
Keep coming back for more unicorn themed tutorials all week! And be sure to follow my Unicorn Pinterest board to keep up with all the fabulous unicorn ideas I find around the web.

.png)